
Last Updated on December 28, 2022 by Steve
OpenLiteSpeed is the Open Source edition of LiteSpeed Web Server Enterprise and contains all of the essential features, including HTTP/3 support. OLS provides enormous scalability, and an accelerated hosting platform for WordPress. This WordPress + OpenLiteSpeed + LSCache image tends to be more than 300 times faster than a regular WordPress image! It also automates initial setup for components like Object Cache and PHP OPCache to reduce the time it takes to optimize a web server.
Why Use OpenLiteSpeed?
OpenLiteSpeed combines speed, security, scalability, optimization and simplicity in one friendly open-source package.
Event-Driven Architecture
Event driven processes, less overhead, and enormous scalability. Keep your existing hardware.
Understands Apache Rewrite Rules
OpenLiteSpeed is mod_rewrite compatible, with no new syntax to learn. Continue to use your existing rewrite rules.
Friendly Admin Interfaces
OLS comes with a built-in WebAdmin GUI. Control panel support is available with CyberPanel.
Built for Speed and Security
Features Anti-DDoS connection and bandwidth throttling, ModSecurity v3 integration, and more.
Intelligent Cache Acceleration
Built-in full-page cache module is highly-customizable and efficient for an exceptional user experience.
PageSpeed Optimization
Automatically implement Google’s PageSpeed optimization system with the mod_pagespeed module.
PHP LiteSpeed SAPI
Native SAPI for PHP allows external applications written in PHP to run up to 50% faster.
One-Click Installation
Install OpenLiteSpeed, MariaDB and WordPress on various operating systems with just one click.
WordPress Acceleration
Experience a measurable performance boost with OpenLiteSpeed and LSCache for WordPress.
Quick Start
How to Access the Installed Software
Connect to phpMyAdmin at the following URL:
https://example.com/phpmyadmin
Get the MySQL root password:
sudo sed -n 1p .db_password
Get the MySQL WordPress user password:
sudo sed -n 2p .db_password
Web Server Control Panel Access
Navigate with your favorite browser to your server’s IP address or domain name and append port( example.com:7080/login.php)
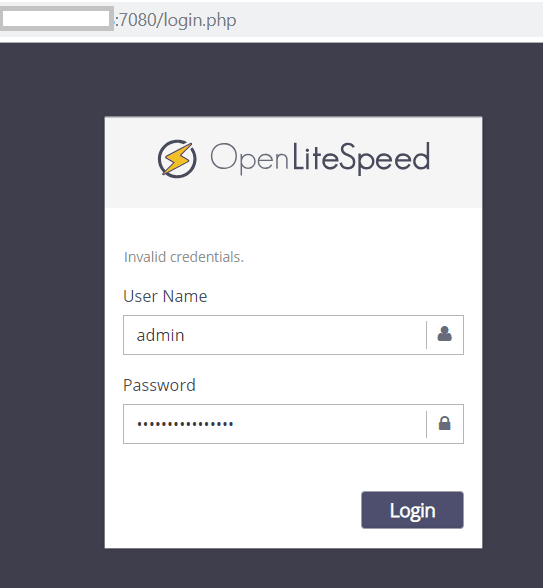
By default, WebAdmin uses port 7080. To allow access to 7080 from your IP(e.g. 1.2.3.4):
ufw allow from 1.2.3.4 to any port 7080You can also allow all IPs access to port 7080:ufw allow 7080We suggest turning this port off once you've finished setup:ufw delete allow 7080Optional Setup
Enable HTTPS
Setting up an SSL certificate enables HTTPS on the web server, which secures the traffic between the server and the clients connecting to it. Certbot is a free and automated way to set up SSL certificates on a server.
Step 1. Register Domain
To use Certbot, you’ll need a registered domain name and DNS records:
- An A record from the domain (e.g.,
example.com) to the server’s IP address - An A record from the domain prefaced with
www(e.g.,www.example.com) to the server’s IP address.
Step 2. Add Domain to Listener
Navigate to OpenLiteSpeed Web Server WebAdmin > Listeners, and add Your Domain to HTTP/HTTPS.

Step 3. Certbot
Once the DNS records are set up, you can generate the SSL certificate. Be sure to substitute the correct domain name in the following command:
certbot certonly --webroot -w /var/www/html/ -d example.com -d www.example.com
If certificate verification is a success, you should find your certificate files stored in /etc/letsencrypt/
Step 4. Set SSL for HTTPS
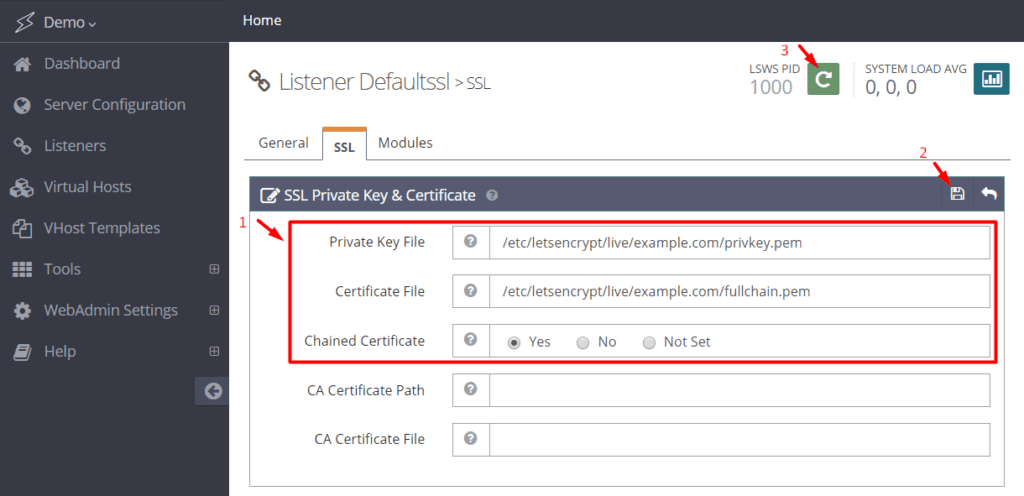
Navigate to OpenLiteSpeed Web Server WebAdmin > Listeners > SSL, and edit the following three items:
- Private Key File =
/etc/letsencrypt/live/example.com/privkey.pem - Certificate File =
/etc/letsencrypt/live/example.com/fullchain.pem - Chained Certificate =
Yes
Save and perform a Graceful Restart.
Now your server should support TLS1.1, TLS 1.2, and TLS 1.3.
Step 5. Redirect HTTP to HTTPS

HTTPS traffic on port 443 is already allowed through the firewall. After you set up HTTPS, you can optionally rewrite all HTTP traffic to HTTPS.
Add the following rules to OpenLiteSpeed Web Server WebAdmin > Virtual Hosts > Rewrite > Rewrite Rules
RewriteCond %{SERVER_PORT} 80
RewriteRule ^(.*)$ https://example.com/$1 [R,L]
Method for Uploading Files
You can serve files from the web server by adding them to the web root using SFTP or other tools such as WinSCP FTP client, recommended. Read our Quick Start Guide on WinSCP to upload files to any web server. WordPress also has File Manager Plugin that makes file upload a breeze.
Methods for Migrating WordPress
If you already have a WordPress site elsewhere, you can migrate it using one of the following methods.
Single-Site by Duplicator Plugin
- Install and activate the Duplicator plugin on the WordPress site you’re copying from.
- Navigate to Duplicator > Packages, then click the Create New button.
- Go through the wizard. When you see “Package Completed,” click the One-Click Download link to download two files.
- Move the two files (
installer.phpand a zip file) into the folder you’ll want the WordPress site in. - Visit
installer.phpin a web browser and you should see a wizard screen. - Click I have read and accept all terms & notices and Next
- You’ll need to have a database ready. Enter the database name, user, and password.
- Click the Site Login button and log in to your WordPress site using the same username and password as you have on the remote site.
Multi-Site by Duplicator Plugin
- Install plugin.
- Network activate plugin.
- On site 1, perform the backup. That will capture the entire site into a package.
- Restore the site in the new location just as in the Single Site procedure.
Install LSCache After Migration
This step is only necessary if you have migrated a WordPress installation or it’s a fresh WordPress installation.
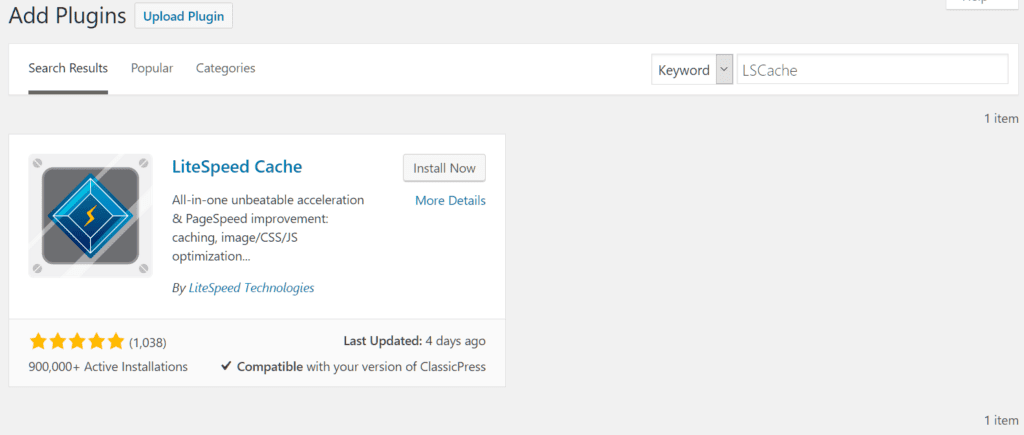
To benefit from high performance and a nice page score, don’t forget to install the LSCache Plugin
Improve Your Page Score
Switch Object Cache Method

By default we have Memcached enabled. To swich to Redis is easy. Just copy the Redis socket path to LSCache Plugin > Settings > Advanced > Object Cache and save:
- Memcached:
/var/www/memcached.sock - Redis:
/var/run/redis/redis-server.sock
Summary
OpenLiteSpeed is an amazing application that is free and open source. It can seriously improve the performance of your WordPress site.
Hope you found this article helpful.